


Reclaimed tongue & groove wall paneling is a great way to add an interesting wood accent wall to your home. Installing your tongue & groove wall planking can be quick & easy with the right tools and techniques.
This step-by-step tutorial will teach you everything you need to know to install your wood wall planking.
HERE'S WHAT YOU NEED:
-
Tongue & Groove Paneling/Planking
-
Stud Finder
-
Level
-
Brad Nailer
-
2" Brad Nails
-
Chop Saw
-
Pneumatic Air Gun
-
Marker
OPTIONAL SUPPLIES:
-
Laser Level
-
Chalk Line
-
Construction Adhesive
STEP 1

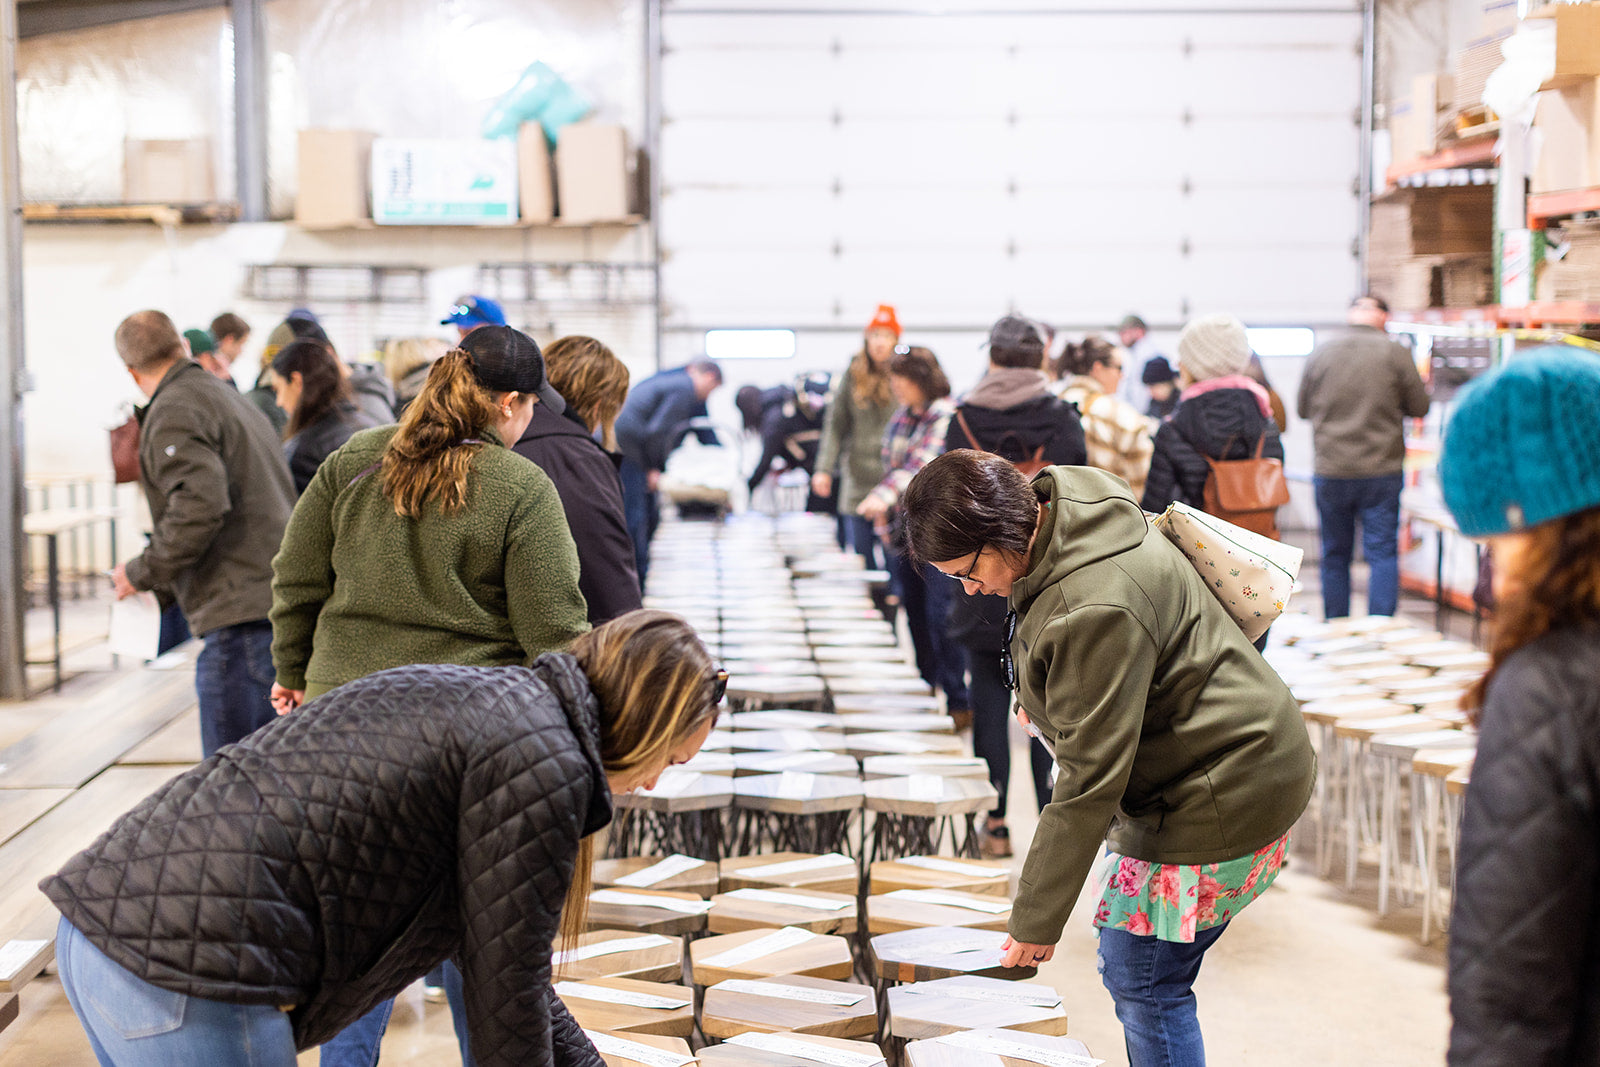
Open your bundles of wood wall paneling and lay out your material in “easy to grab” piles of wood planks.
To ensure an even distribution of colors in a natural reclaimed wall paneling style, you can lay out the individual boards in the order you would like them to be placed on the finished wall so you can visually see it before installing the wood wall planks.
STEP 2
Prepare your blank wall. You can install wood paneling directly over drywall- or- in the case of tongue & groove paneling, you can install directly over wall studs since the tongue & groove creates a seal.
On your chosen accent wall, use a stud finder to locate your studs, mark each stud with a line so that they are easy to find while you install the wood wall planking. Not every board needs to hit a stud but knowing where your studs are will help secure the paneling.

STEP 3
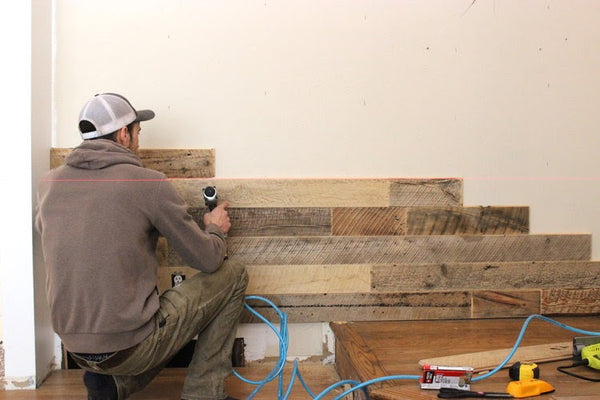
Start at one bottom corner of your wall and make sure that your first board is level by using a hand level or a laser level. The tongue of the board should be facing up towards the ceiling while the groove faces down towards the floor.

Use your nail gun to tack your board in place trying to hit any studs you may cross along the way. Utilize both long and short boards for a nice staggered wall paneling look.

STEP 4
Continue to lay your boards row by row. Secure a new row of tongue & groove paneling to the row beneath it by sliding the groove (the top side of the row below) into the tongue (the bottom side of the row above)- you may need to use a mallet to get the tongue & groove to secure together. When starting a new row, use your small cut off pieces – this will improve your staggered pattern and prevent creating waste.
HOW TO INSTALL WALL PLANKS AROUND OUTLET
If you are placing wall paneling around an outlet or light switch, you will need to bump out the outlet as you work. Once your paneling is completely installed, you can replace your outlet cover for a seamless look.

You might be wondering how to install wood wall planks around an outlet - it’s easier than it seems! First, remove the outlet cover, then grab the outlet casing and pull it out so that it no longer flush with the existing wall but instead lines up with the new paneling. Continue to work around the outlet and replace the outlet cover when finished.
STEP 5
Make sure your paneling is staying level as you work your way up the wall. You can use a standard level or a laser level to do this. If you are using a natural, reclaimed paneling like the style shown here (Soft Burleigh), keep an eye on your remaining material as you fill up your wall so that you can be sure to have a nice mix of light and dark wood wall planks as you finish the job. Don’t leave all the dark pieces (or all of the light pieces) for the end of the project or you might not get a nice mix of wood tones on the finished reclaimed wood accent wall.

STEP 6
Continue to install the boards row by row until you reach the top of your wall. Trim the boards as needed to maintain a stagger, fit to a corner, or go around an outlet.

STEP 7
Take a step back and admire your new wall..you did it!
Want to print a guide for easier viewing while installing your wood accent wall?
View our FREE printable wall paneling install guide here.
Disclaimer: We are not responsible for installation issues or problems that arise during installation. We will not be liable for any mistakes in calculating the amount of material needed or for improper installation which results in needing extra material to finish the job.
This guide is meant as a reference for basic practices and is not a comprehensive tutorial for the basic carpentry skills needed to successfully install your paneling. Contact a licensed contractor for professional installation.